
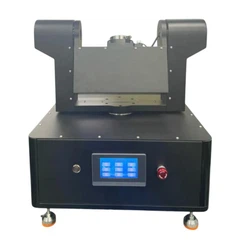
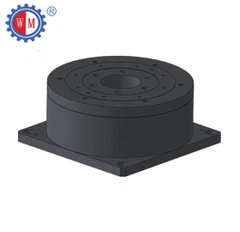
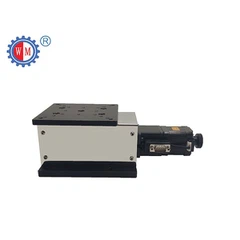
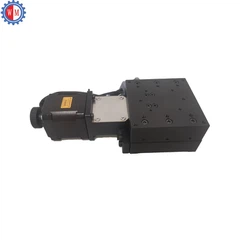
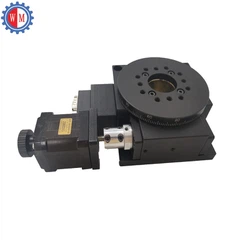
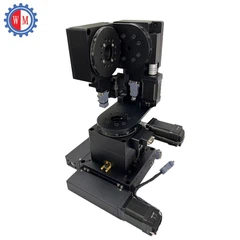
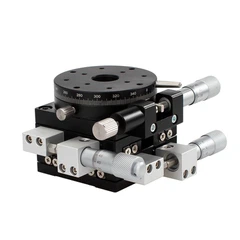
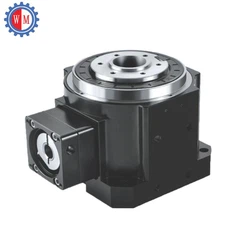


Connecting a 3-axis motorized gimbal to a camera is a crucial step for photographers and videographers aiming to capture smooth, professional-grade footage. As a trusted supplier of 3-axis motorized gimbals, we understand the importance of this process and are here to guide you through it in a detailed and user-friendly manner.
Understanding the Basics of a 3-Axis Motorized Gimbal
Before delving into the connection process, it's essential to have a basic understanding of what a 3-axis motorized gimbal is. A 3-axis motorized gimbal is a device equipped with three independent motors that control the pitch, roll, and yaw movements of a camera. This allows for precise and smooth movement control, eliminating shakiness and resulting in cinematic footage.
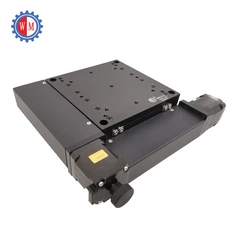
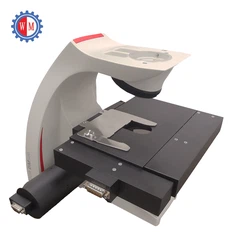
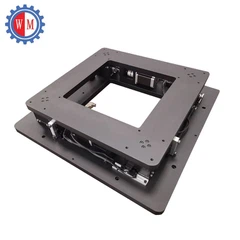
Our company offers a range of high-quality 3-axis motorized gimbals, including the Mini Pitch Roll Yaw Motor Gimbal Stage, Motorized 3 Axis Gimbal Stage, and Three-Axis Motorized Gimbal Stage. Each of these gimbals is designed to meet the diverse needs of our customers, whether they are shooting in a studio or on the go.
Preparing Your Equipment
Before connecting your 3-axis motorized gimbal to your camera, you need to ensure that you have all the necessary equipment and that it is in good working condition. Here's a list of what you'll need:
- 3-Axis Motorized Gimbal: Choose a gimbal that is compatible with your camera's weight and size. Our gimbals are designed to support a wide range of cameras, from compact point-and-shoots to professional DSLRs.
- Camera: Make sure your camera is fully charged and has enough storage space for your shoot.
- Mounting Accessories: Most gimbals come with a set of mounting accessories, such as a camera plate and screws. Ensure that these accessories are compatible with your camera.
- Power Source: Depending on the type of gimbal you have, you may need a power source, such as a battery or a power adapter. Make sure the power source is fully charged or plugged in.
Step-by-Step Guide to Connecting Your 3-Axis Motorized Gimbal to Your Camera
Now that you have all the necessary equipment, it's time to connect your 3-axis motorized gimbal to your camera. Follow these steps carefully:
Step 1: Attach the Camera Plate to Your Camera
The first step is to attach the camera plate to your camera. This is usually done by unscrewing the camera plate from the gimbal and then attaching it to the bottom of your camera using the provided screws. Make sure the camera plate is securely attached to your camera to prevent it from falling off during use.
Step 2: Mount the Camera on the Gimbal
Once the camera plate is attached to your camera, it's time to mount the camera on the gimbal. Align the camera plate with the mounting bracket on the gimbal and slide it into place. Make sure the camera is centered on the gimbal and that it is securely attached.
Step 3: Balance the Camera
Balancing the camera is a crucial step in connecting your 3-axis motorized gimbal to your camera. A balanced camera ensures smooth and stable movement, while an unbalanced camera can cause the gimbal to vibrate or shake. To balance the camera, follow these steps:
- Power on the Gimbal: Turn on the gimbal and let it calibrate. This may take a few seconds.
- Adjust the Pitch: Use the pitch adjustment knob on the gimbal to adjust the tilt of the camera. Move the camera up or down until it is level and balanced.
- Adjust the Roll: Use the roll adjustment knob on the gimbal to adjust the horizontal rotation of the camera. Move the camera left or right until it is level and balanced.
- Adjust the Yaw: Use the yaw adjustment knob on the gimbal to adjust the vertical rotation of the camera. Move the camera clockwise or counterclockwise until it is level and balanced.
Step 4: Connect the Power Source
Once the camera is balanced, it's time to connect the power source to the gimbal. Depending on the type of gimbal you have, you may need to connect a battery or a power adapter. Make sure the power source is fully charged or plugged in to ensure continuous operation.
Step 5: Test the Gimbal
After connecting the power source, it's time to test the gimbal to make sure it is working properly. Turn on the camera and start recording. Slowly move the gimbal in different directions to see how the camera responds. The camera should move smoothly and without any vibrations or shakes. If you notice any issues, such as the camera not moving smoothly or the gimbal vibrating, try adjusting the balance again or checking the connections.
Troubleshooting Common Issues
Connecting a 3-axis motorized gimbal to a camera can sometimes be challenging, and you may encounter some common issues along the way. Here are some troubleshooting tips to help you overcome these issues:
- Camera Not Powering On: If the camera does not power on after connecting it to the gimbal, check the power source. Make sure the battery is fully charged or the power adapter is plugged in. You may also need to check the connections between the camera and the gimbal to ensure they are secure.
- Gimbal Not Responding: If the gimbal does not respond after powering on, check the power source. Make sure the battery is fully charged or the power adapter is plugged in. You may also need to check the connections between the gimbal and the power source to ensure they are secure.
- Camera Vibrating or Shaking: If the camera is vibrating or shaking during use, it may be due to an unbalanced camera. Try adjusting the balance of the camera using the pitch, roll, and yaw adjustment knobs on the gimbal. You may also need to check the mounting accessories to ensure they are securely attached to the camera and the gimbal.
- Gimbal Overheating: If the gimbal is overheating during use, it may be due to continuous use or a malfunctioning motor. Try turning off the gimbal and letting it cool down for a few minutes. If the problem persists, contact our customer support team for further assistance.
Conclusion
Connecting a 3-axis motorized gimbal to a camera is a straightforward process that requires a bit of patience and attention to detail. By following the steps outlined in this guide and troubleshooting any issues that may arise, you can ensure a smooth and successful connection. As a leading supplier of 3-axis motorized gimbals, we are committed to providing our customers with high-quality products and exceptional customer service. If you have any questions or need further assistance, please don't hesitate to contact us. Whether you're a professional photographer or a beginner videographer, our gimbals are designed to help you capture stunning footage with ease.


References
- Manufacturer's user manuals for 3-axis motorized gimbals.
- Online resources on camera equipment and gimbal technology.


