
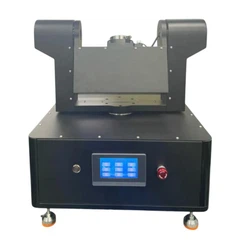
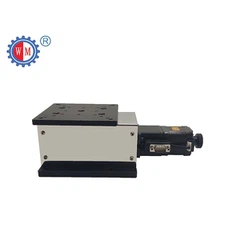
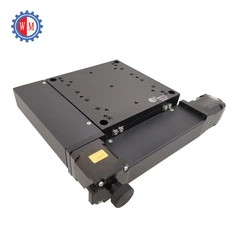
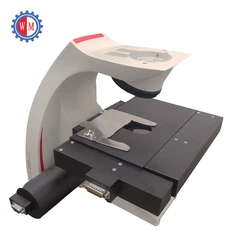
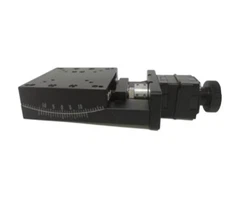
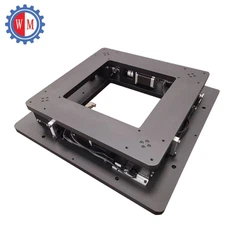
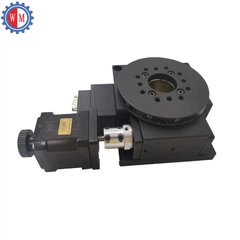
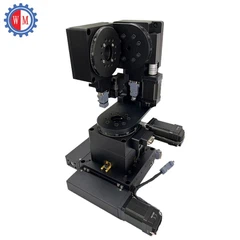
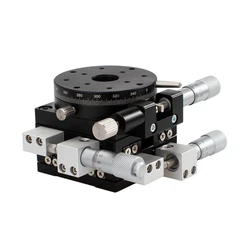
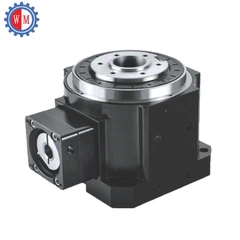


Hey there! I'm a supplier of Manual Stages, and today I'm gonna walk you through how to calibrate a Manual Stage. Calibrating your Manual Stage is super important as it ensures accurate and precise movement, which is crucial for a whole bunch of applications, like in the field of optics, microscopy, and even in some industrial setups.
Why Calibration Matters
First off, let's talk about why calibration is such a big deal. A Manual Stage is used to position objects or components with a high degree of accuracy. If it's not calibrated correctly, you might end up with errors in your measurements or misalignments in your experimental setup. For example, in an optical experiment, a tiny misalignment can lead to significant losses in light transmission or inaccurate imaging.
Tools You'll Need
Before we start the calibration process, let's gather the tools we'll need. You'll typically need a precision measuring device, like a micrometer or a dial indicator. These tools will help you measure the movement of the stage accurately. You might also need some small wrenches or screwdrivers to make any necessary adjustments to the stage.
Step 1: Initial Inspection
The first step in calibrating a Manual Stage is to give it a good once - over. Check for any visible signs of damage, like scratches, dents, or loose parts. Make sure all the moving parts are clean and free of debris. If you notice any issues, it's best to address them before proceeding with the calibration.


Step 2: Zeroing the Stage
Most Manual Stages have a zeroing mechanism. This is where you set the initial position of the stage to zero. To do this, move the stage to its starting position, usually the left - most or bottom - most position. Then, use the zeroing function on the stage. This could be a button or a screw that allows you to set the position indicator to zero.
Step 3: Measuring Movement
Now, it's time to measure the movement of the stage. Use your precision measuring device to measure the distance the stage moves as you turn the adjustment knobs. For example, if your stage has a fine - adjustment knob, turn it a certain number of turns and measure the corresponding movement. You should do this in both the X and Y directions (if your stage has two - axis movement).
Step 4: Checking for Linearity
One of the key aspects of calibration is checking the linearity of the stage's movement. Linearity means that the movement of the stage is proportional to the rotation of the adjustment knobs. To check this, take multiple measurements at different points along the stage's travel. Plot the measured distances against the number of turns of the adjustment knobs. If the graph is a straight line, then the stage has good linearity. If not, you might need to make some adjustments.
Step 5: Adjusting the Stage
If you find that the stage's movement is not linear or if there are discrepancies in the measurements, you'll need to make some adjustments. This could involve tightening or loosening some of the internal components of the stage. However, be careful when doing this as improper adjustments can cause more problems. If you're not sure how to make the adjustments, it's a good idea to refer to the stage's user manual or contact the manufacturer.
Step 6: Re - checking the Calibration
After making any adjustments, re - check the calibration. Repeat the measurement and linearity checks to make sure that the stage is now calibrated correctly. You might need to make a few more minor adjustments until you're satisfied with the results.
Using an Aluminum Optical Breadboard
When you're working with a Manual Stage, an Aluminum Optical Breadboard can be a great addition to your setup. It provides a stable and flat surface for mounting the stage and other optical components. The breadboard's holes allow for easy customization and adjustment of the position of the stage and other equipment.
Final Thoughts
Calibrating a Manual Stage might seem like a daunting task, but with the right tools and a bit of patience, it's definitely doable. Remember, proper calibration is essential for getting accurate and reliable results in your experiments or applications. If you run into any problems during the calibration process, don't hesitate to reach out for help.
If you're in the market for a high - quality Manual Stage or need more information about calibration, I'd love to have a chat with you. Whether you're a researcher, an engineer, or someone in an industrial setting, we can work together to find the right solution for your needs. Just drop me a message, and we can start the conversation about your procurement requirements.
References
- Manual Stage User Manual
- Optics and Precision Mechanics Textbooks


