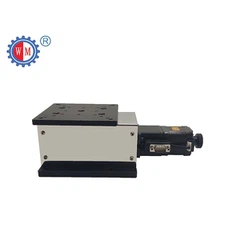
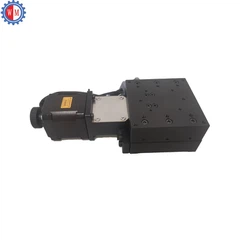
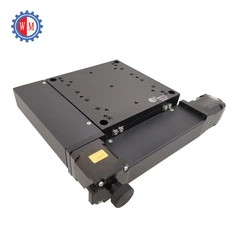
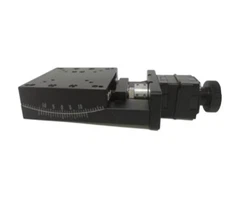
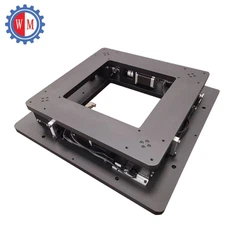
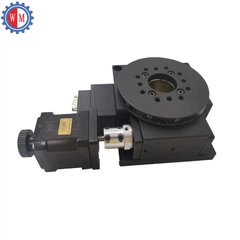
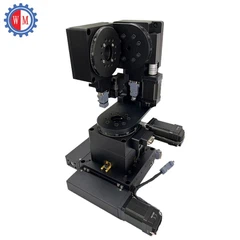
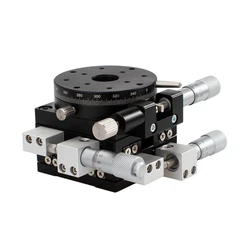


Mounting manual XY-axis stages is a crucial process that requires careful consideration and precision. As a leading supplier of Manual XY-Axis Stages, I understand the importance of providing clear guidance on this topic. In this blog, I will share a step-by-step guide on how to mount manual XY-axis stages effectively, ensuring optimal performance and accuracy in your applications.
Step 1: Prepare the Workspace
Before you begin mounting the manual XY-axis stage, it is essential to prepare a clean and stable workspace. Choose a flat surface that can support the weight of the stage and any additional equipment that will be mounted on it. Remove any debris or contaminants from the surface to prevent them from interfering with the mounting process.
Step 2: Inspect the Stage
Carefully inspect the manual XY-axis stage for any damage or defects. Check the moving parts, such as the slides and screws, to ensure they are in good condition and operate smoothly. If you notice any issues, contact our support team for assistance.


Step 3: Select the Mounting Location
Determine the best location for mounting the manual XY-axis stage based on your application requirements. Consider factors such as accessibility, visibility, and the need for additional clearance around the stage. Make sure the location allows for easy adjustment and operation of the stage.
Step 4: Mount the Base Plate
Most manual XY-axis stages come with a base plate that needs to be mounted first. Place the base plate on the prepared surface and align it with the desired mounting location. Use a level to ensure the base plate is perfectly horizontal. Secure the base plate to the surface using the appropriate mounting hardware, such as screws or bolts.
Step 5: Install the XY-Axis Stage
Once the base plate is securely mounted, it's time to install the XY-axis stage on the base plate. Carefully lift the stage and align it with the mounting holes on the base plate. Insert the mounting screws or bolts through the holes and tighten them gently. Make sure the stage is firmly attached to the base plate but avoid over-tightening, as this can damage the stage.
Step 6: Connect the Moving Parts
After installing the XY-axis stage, connect the moving parts, such as the slides and screws. Follow the manufacturer's instructions to ensure proper connection and alignment. Lubricate the moving parts as recommended to reduce friction and ensure smooth operation.
Step 7: Calibrate the Stage
Calibration is an important step to ensure the accuracy and precision of the manual XY-axis stage. Use a calibration tool, such as a micrometer or a laser alignment system, to measure the movement of the stage in both the X and Y directions. Adjust the screws or knobs on the stage to correct any errors and ensure that the movement is within the specified tolerance.
Step 8: Test the Stage
Once the stage is calibrated, perform a test to verify its functionality. Move the stage in both the X and Y directions and check for smooth operation and accurate positioning. If you notice any issues, such as excessive play or uneven movement, recheck the mounting and calibration steps.
Step 9: Mount Additional Equipment
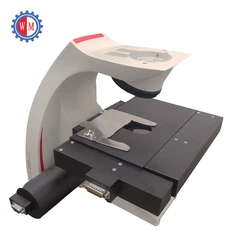
If you need to mount additional equipment, such as a microscope or a camera, on the manual XY-axis stage, make sure to follow the manufacturer's instructions. Use the appropriate mounting brackets or adapters to ensure secure attachment. Consider the weight and balance of the additional equipment to avoid overloading the stage.
Step 10: Secure the Connections
After mounting all the equipment, double-check all the connections to ensure they are secure. Tighten any loose screws or bolts and make sure all the cables are properly connected. This will prevent any movement or vibration that could affect the performance of the stage.
Common Mistakes to Avoid
- Over-tightening the mounting screws: Over-tightening can damage the stage and affect its performance. Follow the manufacturer's recommended torque specifications.
- Not using a level: A level surface is essential for accurate mounting and operation of the stage. Use a level to ensure the base plate is horizontal.
- Skipping the calibration step: Calibration is crucial for ensuring the accuracy and precision of the stage. Don't skip this step, even if the stage appears to be working correctly.
- Mounting the stage in an unstable location: Choose a stable and secure location for mounting the stage to prevent any movement or vibration.
Troubleshooting Tips
- Excessive play in the moving parts: Check the lubrication and tighten any loose screws or bolts. If the problem persists, contact our support team for further assistance.
- Uneven movement or positioning errors: Recheck the calibration and make sure the stage is properly aligned. If necessary, adjust the screws or knobs to correct the errors.
- Difficulty in moving the stage: Check for any obstructions or debris that may be preventing the stage from moving smoothly. Clean the moving parts and lubricate them as recommended.
Conclusion
Mounting manual XY-axis stages requires careful planning, precision, and attention to detail. By following the steps outlined in this blog, you can ensure a successful installation and optimal performance of your stage. If you have any questions or need further assistance, please don't hesitate to contact us. We are a trusted supplier of Manual Laboratory Translation Stage, Manual XY Positioning Stage, and Manual Optical Alignment Stage, and we are committed to providing our customers with the highest quality products and support.
If you are interested in purchasing manual XY-axis stages or have any specific requirements, please contact us to start a discussion. Our team of experts will be happy to assist you in finding the right solution for your application.
References
- Manufacturer's user manual for the manual XY-axis stage
- Industry standards and best practices for mounting precision equipment


