
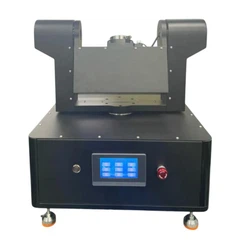
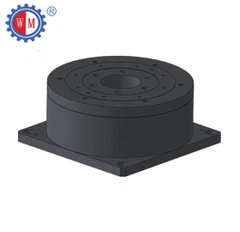
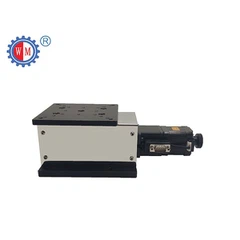
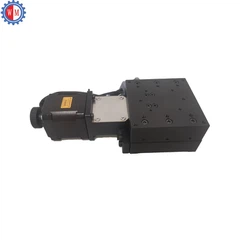


Calibrating a manual goniometer table is a crucial process that ensures accurate angular measurements and precise positioning in various scientific, industrial, and research applications. As a leading supplier of manual goniometer tables, we understand the significance of proper calibration and are committed to providing our customers with the knowledge and guidance they need to achieve optimal performance from our products. In this blog post, we will walk you through the step-by-step process of calibrating a manual goniometer table, highlighting key considerations and best practices along the way.
Understanding the Manual Goniometer Table
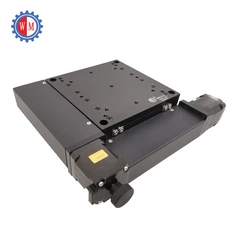
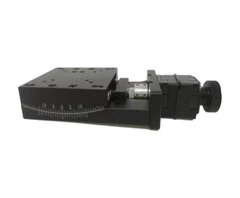
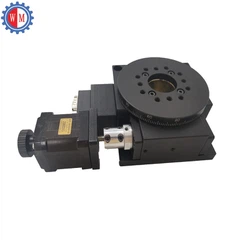
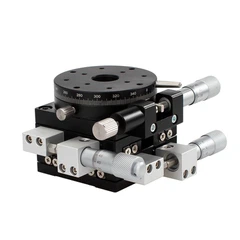
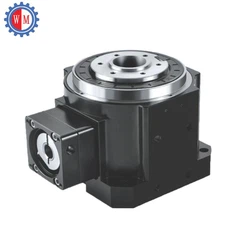
Before diving into the calibration process, it's essential to have a basic understanding of how a manual goniometer table works. A manual goniometer table is a precision instrument used to measure and adjust angles in two or three dimensions. It typically consists of a base, a rotating platform, and one or more angular scales or indicators. The table can be adjusted manually using knobs or handles to achieve the desired angular position.
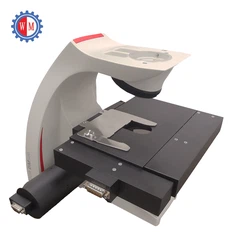
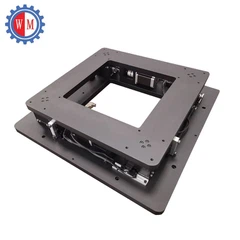
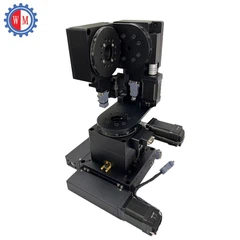
Our Pitch Yaw Roll Manual Tilt Stage and Manual Goniometer Stage are designed with high precision and durability in mind, making them ideal for a wide range of applications, including optics, microscopy, material testing, and robotics.
Preparing for Calibration
Before you begin calibrating your manual goniometer table, it's important to gather the necessary tools and equipment. You will need a precision angle reference, such as a calibrated sine bar or a goniometric prism, a high-quality spirit level, and a set of feeler gauges. Additionally, make sure the table is clean and free of any debris or contaminants that could affect its performance.
It's also a good idea to review the manufacturer's instructions and specifications for your specific goniometer table. This will ensure that you are following the correct calibration procedure and using the appropriate tools and techniques.
Step-by-Step Calibration Process
Step 1: Level the Table
The first step in calibrating a manual goniometer table is to ensure that it is level. Place the spirit level on the rotating platform of the table and adjust the leveling feet until the bubble is centered. This will ensure that the table is parallel to the horizontal plane and that any angular measurements are accurate.
Step 2: Zero the Angular Scale
Once the table is level, you need to zero the angular scale. This involves setting the scale to read zero degrees when the table is in its initial position. To do this, use the adjustment knobs or screws provided on the table to align the scale with the zero mark. Make sure the scale is securely locked in place to prevent any movement during the calibration process.
Step 3: Check the Angular Accuracy
To check the angular accuracy of the table, you will need to use a precision angle reference. Place the reference on the rotating platform of the table and align it with the desired angle. Use the adjustment knobs or handles to rotate the table until the reference is in the correct position. Then, compare the reading on the angular scale with the known angle of the reference.
If there is a significant difference between the reading on the scale and the known angle of the reference, you will need to adjust the angular scale accordingly. This may involve loosening the locking screws and rotating the scale slightly to align it with the correct angle. Once the scale is adjusted, tighten the locking screws to secure it in place.
Step 4: Repeat the Calibration Process
To ensure the accuracy of the calibration, it's important to repeat the process several times at different angles. This will help to identify any systematic errors or inconsistencies in the table's performance. Make sure to record the readings on the angular scale at each angle and compare them with the known angles of the reference.
Step 5: Check for Backlash
Backlash is a common problem in manual goniometer tables that can affect the accuracy of angular measurements. Backlash occurs when there is a small amount of play or movement between the gears or components of the table. To check for backlash, slowly rotate the table in one direction and then in the opposite direction. Observe the movement of the angular scale and note any lag or delay in the reading.


If there is significant backlash, you may need to adjust the gears or components of the table to reduce the play. This may involve tightening the screws or adjusting the tension of the springs. Make sure to follow the manufacturer's instructions carefully when making these adjustments to avoid damaging the table.
Step 6: Finalize the Calibration
Once you have completed the calibration process and are satisfied with the accuracy of the table, you can finalize the calibration by tightening all the locking screws and securing the angular scale in place. Make sure to clean the table and remove any debris or contaminants that may have accumulated during the calibration process.
Tips and Best Practices
- Use high-quality tools and equipment: Using high-quality tools and equipment will ensure accurate and reliable calibration results. Invest in a precision angle reference, a high-quality spirit level, and a set of feeler gauges to ensure the accuracy of your measurements.
- Follow the manufacturer's instructions: Always follow the manufacturer's instructions and specifications when calibrating your manual goniometer table. This will ensure that you are using the correct calibration procedure and that you are not damaging the table.
- Take your time: Calibrating a manual goniometer table is a precise and time-consuming process. Take your time and make sure you are following each step carefully to ensure accurate and reliable results.
- Keep a record of the calibration: It's a good idea to keep a record of the calibration process, including the date, the readings on the angular scale, and any adjustments that were made. This will help you to track the performance of the table over time and to identify any potential issues or problems.
Contact Us for More Information
If you have any questions or need further assistance with calibrating your manual goniometer table, please don't hesitate to contact us. Our team of experts is available to provide you with the support and guidance you need to ensure the optimal performance of your equipment. Whether you are looking for a new manual goniometer table or need help with calibration or maintenance, we are here to help.
References
- Manufacturer's instructions and specifications for your specific manual goniometer table.
- Precision measurement techniques and standards, such as ISO 10360 and ASME B89.
- Technical literature and research papers on goniometry and angular measurement.


