
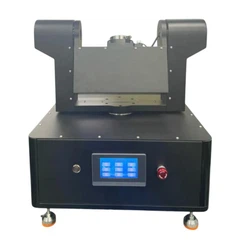
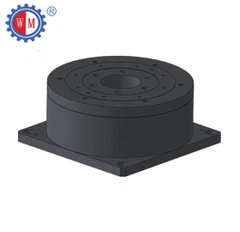
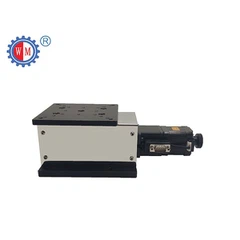
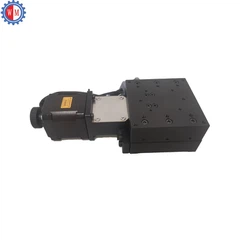


Integrating a UVW align stage with 3D printers can significantly enhance their performance and accuracy. As a supplier of UVW align stages, I've had the chance to dig deep into this topic. In this blog, I'll share some insights on how to make this integration seamless.
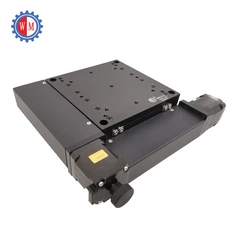
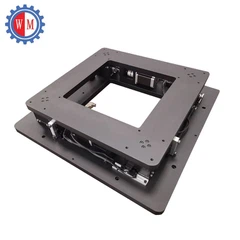
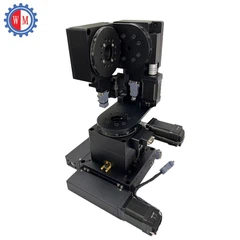
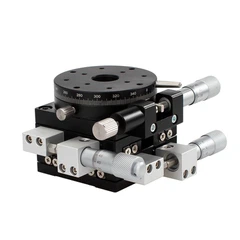
First things first, let's understand what a UVW align stage is. A UVW align stage is designed to provide highly precise movements in three rotational axes: U, V, and W. These movements allow for fine - tuning of the position and orientation of an object, which is super useful in the context of 3D printing.
Why Integrate a UVW Align Stage with 3D Printers
The main advantage of integrating a UVW align stage with a 3D printer is the improvement in accuracy. When you're working on a small - scale or high - precision 3D print, even the slightest misalignment can lead to errors in the final product. The UVW align stage can compensate for any misalignments between the printer's head and the printing surface, ensuring that each layer is deposited exactly where it should be.
Another benefit is the ability to print on non - flat surfaces. Most 3D printers are designed to work on flat build plates. However, with a UVW align stage, you can adjust the orientation of the printing surface to match a non - flat object, expanding the range of possible projects.
Types of UVW Align Stages
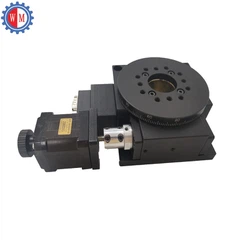
There are different types of UVW align stages that you can choose from for your 3D printer. One popular option is the Motorized UVW Alignment Stage. These stages are controlled by motors, which means you can program precise movements. This is great for complex 3D printing tasks where you need to make multiple adjustments during the printing process.
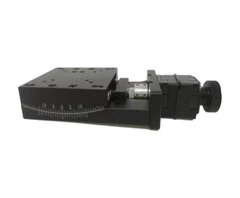
The XYY Alignment Stage is another type that offers specific movement capabilities. It's designed to provide movement in a particular set of axes, which can be customized according to your printing requirements.
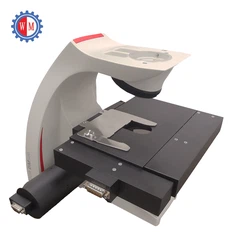
The Visual Alignment Stage is ideal for applications where you need to visually monitor the alignment process. It's often used in research and development settings where precision and real - time adjustments are crucial.
Steps to Integrate a UVW Align Stage with a 3D Printer
1. Assess Your Printer's Compatibility
Before you start the integration process, you need to make sure that your 3D printer is compatible with the UVW align stage. Check the physical dimensions of the stage and ensure that it can fit within the printer's working area. Also, consider the electrical requirements. Some UVW align stages may need a specific power supply or control system, so make sure your printer can provide the necessary resources.


2. Mount the Stage
Once you've confirmed compatibility, it's time to mount the UVW align stage onto the 3D printer. This usually involves using mounting brackets or screws. Make sure the stage is securely attached to the printer to prevent any vibrations or movements during the printing process. It's a good idea to use a level to ensure that the stage is perfectly horizontal or at the desired angle.
3. Connect the Electronics
After mounting the stage, you'll need to connect the electronics. This includes connecting the motors, sensors, and control cables. Follow the manufacturer's instructions carefully to ensure that the connections are correct. Incorrect connections can lead to malfunctions or even damage to the equipment.
4. Calibrate the Stage
Calibration is a critical step in the integration process. You need to calibrate the UVW align stage to ensure that it moves accurately in all three axes. Most stages come with calibration software that you can use to set up the initial parameters. During calibration, you'll need to measure the actual movement of the stage and compare it with the expected values. Make any necessary adjustments to the calibration settings until the stage moves precisely as required.
5. Test the Integration
Once the calibration is complete, it's time to test the integration. Start with a simple 3D print to see how the printer and the UVW align stage work together. Check for any signs of misalignment or errors in the printed object. If you notice any issues, go back to the calibration step and make further adjustments.
Troubleshooting Common Issues
Even after following all the steps correctly, you may encounter some issues. One common problem is motor noise. If you hear excessive noise from the motors, it could be due to loose connections or incorrect calibration. Check the connections and re - calibrate the motors if necessary.
Another issue is inaccurate movement. If the stage is not moving as expected, it could be a problem with the control software or the sensors. Check the software settings and make sure the sensors are functioning properly. You may need to contact the manufacturer for technical support if you can't resolve the issue on your own.
Conclusion
Integrating a UVW align stage with a 3D printer can take your 3D printing capabilities to the next level. By following the steps outlined in this blog, you can ensure a successful integration and enjoy the benefits of enhanced accuracy and flexibility in your 3D printing projects.
If you're interested in purchasing a UVW align stage for your 3D printer or have any questions about the integration process, don't hesitate to reach out. We're here to help you make the most of this technology and take your 3D printing to new heights.
References
- General knowledge on 3D printing and alignment stages from industry experience.
- Manufacturer's manuals for UVW align stages.


